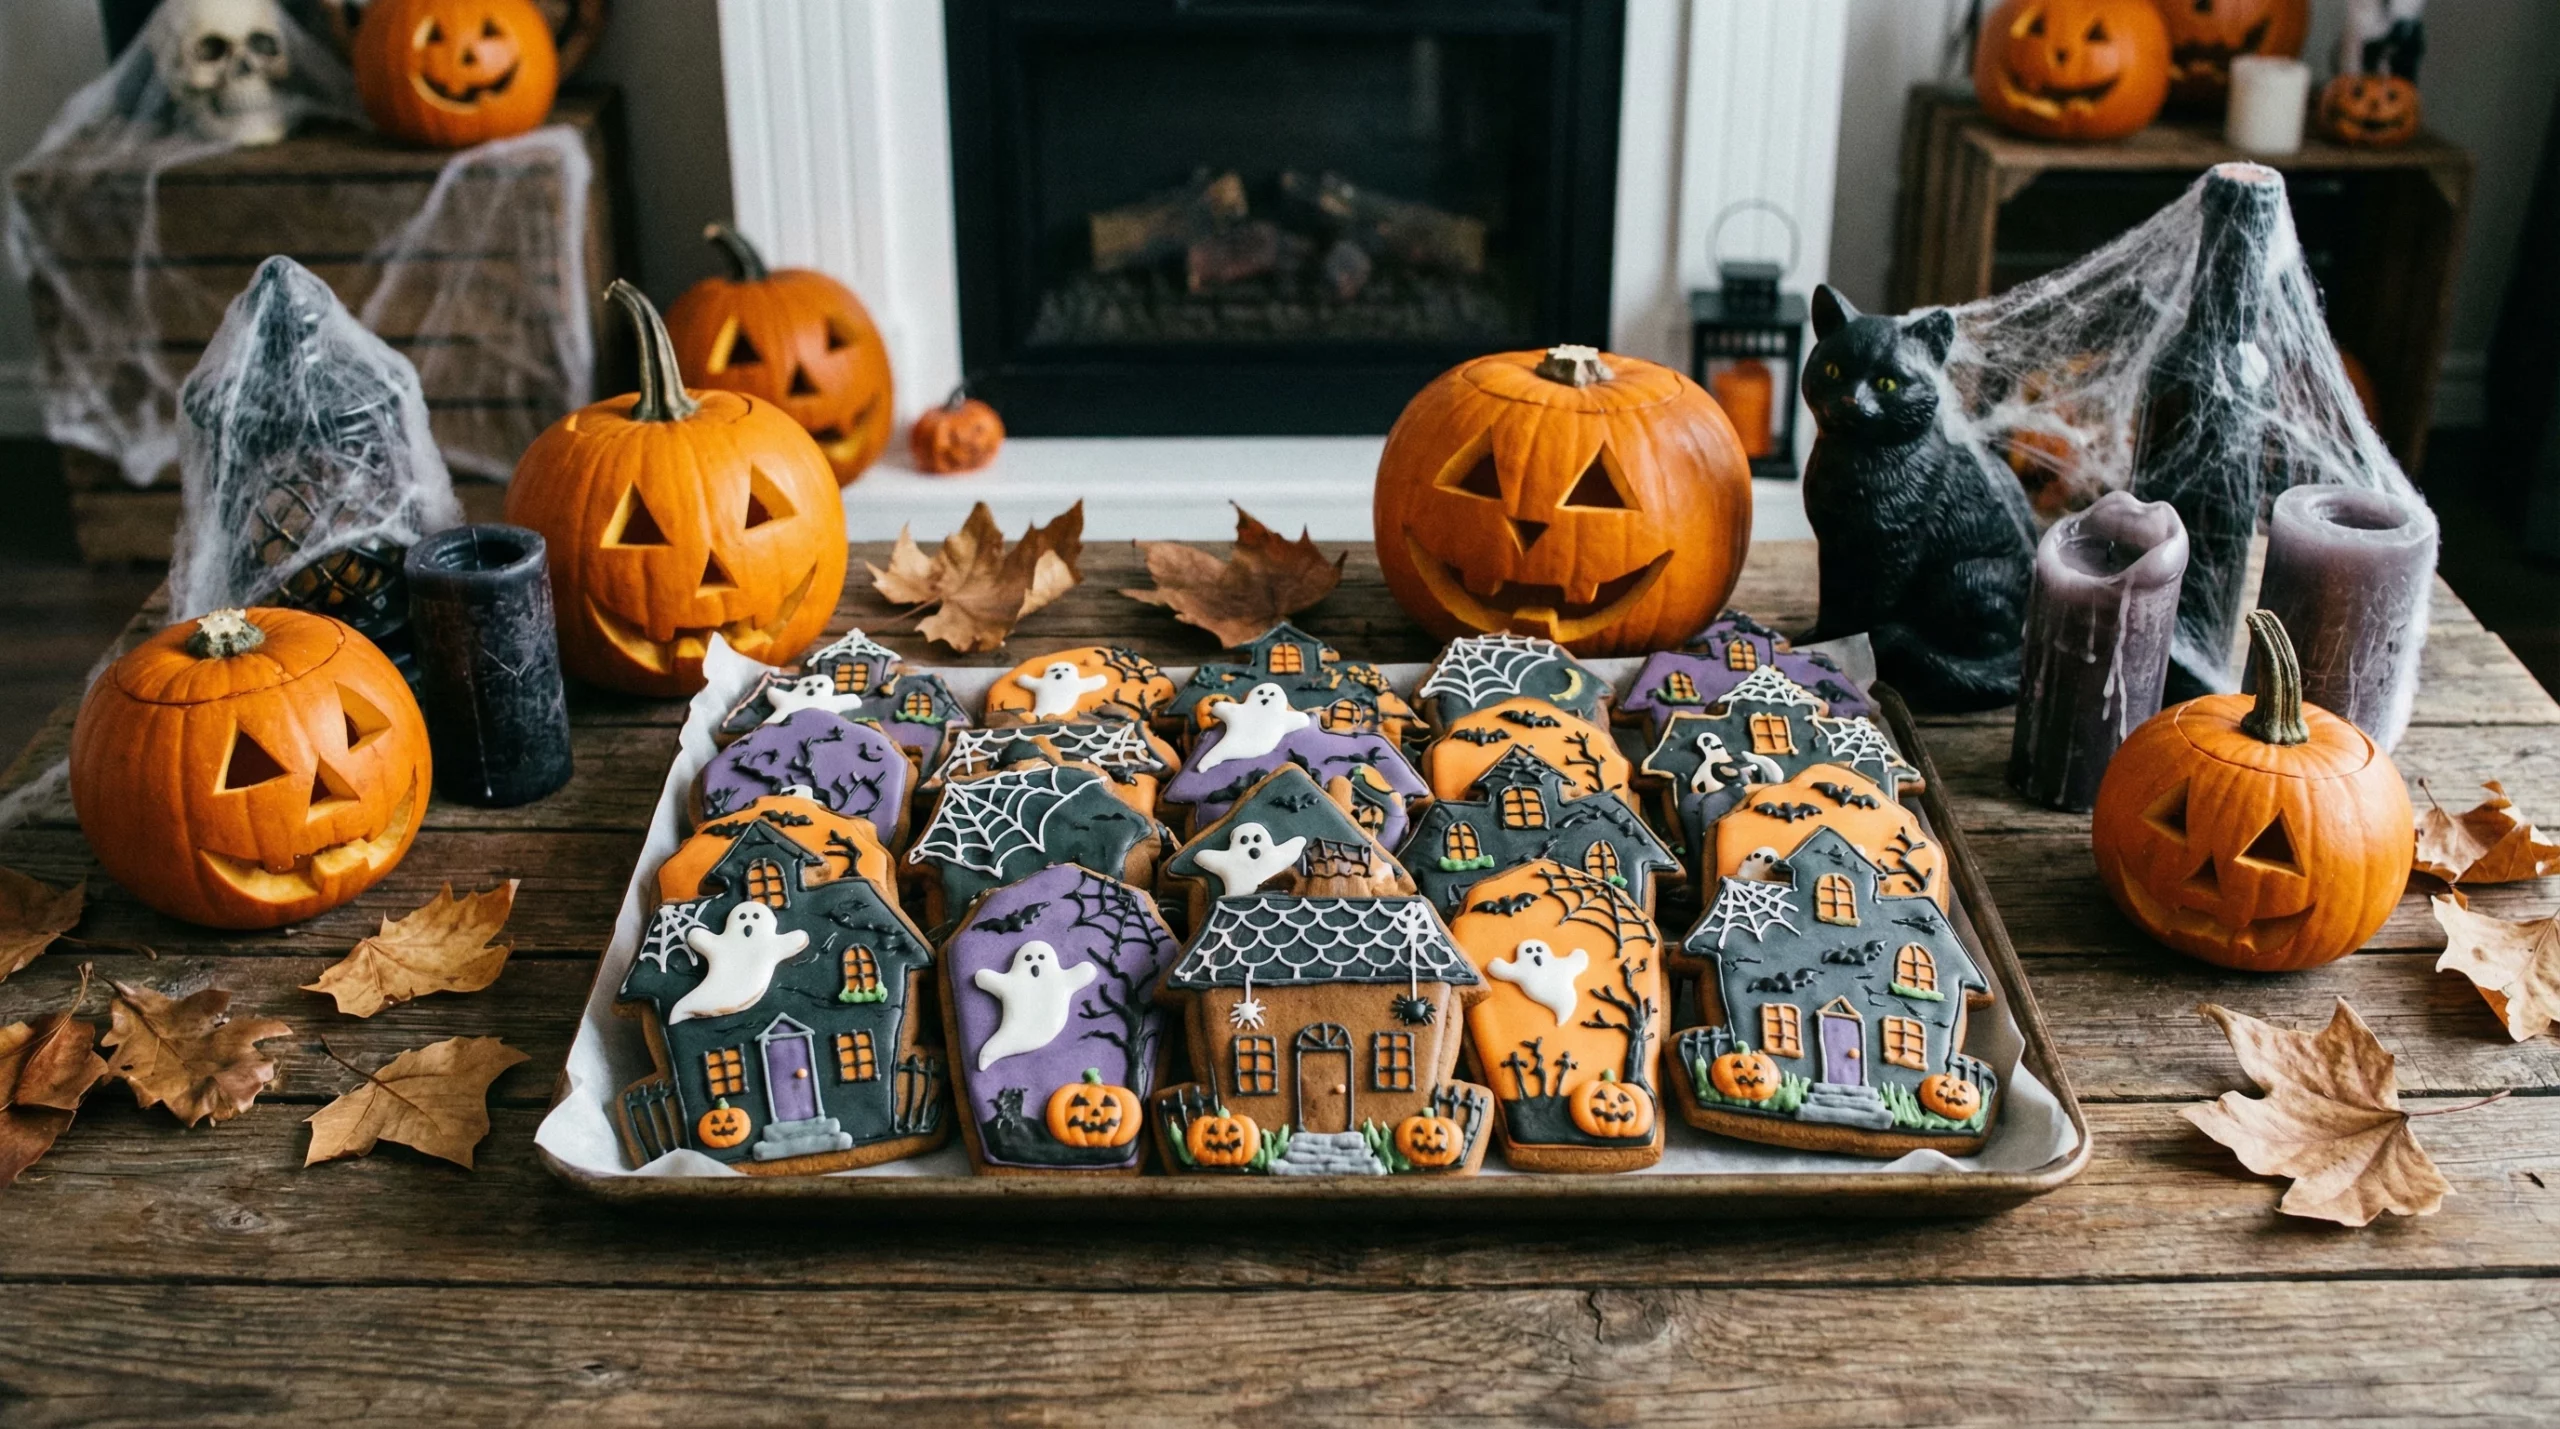
If you love baking and enjoy a bit of creativity, haunted house cookies bring a sweet and spooky twist to the kitchen. You don’t need fancy baking skills, either; just a playful mood and a few pantry basics. I’ll walk you through how to bake these cookies, decorate them to look haunted, and share some tips to make the process smooth and fun. These cookies make a great centerpiece for Halloween parties, gift bags, or just a cozy autumn night in.

Why Haunted House Cookies Are So Much Fun
Haunted house cookies go way beyond a regular sugar cookie. They turn baking into a playful art project, and every cookie becomes a little edible masterpiece. Whether you’re into spooky decorations or just want to try something new, these cookies are a great way to get into the Halloween spirit. Plus, assembling and decorating them is a memorable bonding activity for families and friends.
I’ve also noticed that haunted house cookies let everyone personalize their own creations. Some houses look downright haunted, while others end up a little friendlier; all are totally valid. The cookies can also handle a lot of decorating mistakes. If your icing drips or candies look lopsided, it just adds to the haunted charm.
Basic Ingredients and Tools You’ll Need
Getting started doesn’t require expensive or hard to find supplies. Most of the ingredients are pantry basics or common at the grocery store. If you already bake cookies now and then, you’re probably good to go.
- Sugar cookie dough: You can use homemade or storebought dough. Homemade gives you more flavor control but premade is pretty handy.
- Royal icing: This stiff, shiny icing holds its shape and dries firm, so your decorations stay in place.
- Food coloring: Black, purple, orange, and green are classic, but any spooky color palette works.
- Candy decorations: Think candy eyes, mini M&Ms, licorice ropes, and sprinkles. Small candies help make doors, windows, and ghosts.
- Haunted house cookie cutters: Any house shaped cutter works, even a simple rectangle or square. Freehand paper templates also work if you want a custom haunted mansion.
- Piping bags and tips: These make icing details way easier. If you don’t have them, snipping the corner off a zip top bag will do.
For homemade dough and royal icing, you’ll just need flour, sugar, eggs, butter, powdered sugar, and a bit of lemon juice. Most standard sugar cookie recipes work well, as long as the dough holds shape without spreading too much in the oven.
Step by Step: Making and Baking the Cookies
Even if you’re new to cookie decorating, the process is pretty chill. Breaking it down helps avoid any last minute kitchen chaos.
- Mix and chill the dough: If you’re making your own dough, mix it a few hours ahead so it has time to chill. Cold dough holds shapes better when baked.
- Roll and cut: Roll the dough to about 1/4 inch thick on a lightly floured surface. Use your haunted house cookie cutters (or hand cut shapes from a template) to get your spooky houses ready.
- Bake: Place the cookies on a parchment lined baking sheet. Bake at 350°F (175°C) for 8–10 minutes, until the edges are just barely golden. Overbaking can dry them out.
- Cool: Let the cookies cool on a rack. They need to be totally cool before you start decorating or the icing will melt.
After baking, the real fun begins with decorating. You can make the cookies days in advance as long as they’re stored in an airtight container.
Tips for Awesome Haunted House Decorations
Decorating haunted house cookies is where things get creative. There’s no single right way; just have fun with it. I’ve found a few tricks that make the decorating less stressful and more rewarding:
- Start with outlines: Use black or dark royal icing to outline the windows, doors, and roof. It gives your cookie design structure and keeps the other icing colors from running together.
- Flood with color: Thin some royal icing and “flood” the larger areas like the house walls. Use a toothpick or skewer to move the icing into tight corners.
- Add details: Once the base colors set (about 30 minutes for royal icing), add candy eyes in windows, licorice strips for shutters, and little dots of icing for ghostly shapes. Let your haunted house get as detailed or as simple as you want.
- Use layers: Layering icing and decorations gives a cool dimensional look. If you want 3D bats or spooky trees, pipe them and let them dry separately, then “glue” them on the cookie with more icing.
Royal icing does take some time to dry. If you want crisp, bold lines, give each color a bit of time before adding the next. Keeping the cookies on a baking sheet makes moving them around easier without smudging your work.
Common Decorating Challenges (and Fixes)
It’s rare to decorate a whole batch of cookies without a little mess. Here’s how I’ve handled a few common hiccups:
- Icing too runny: Mix in a bit more powdered sugar. For details, you want the icing to hold stiff peaks when you lift the spoon.
- Icing too stiff: Add drops of lemon juice or water, very slowly. A few drops at a time work best.
- Bleeding colors: Let one color dry before adding another one next to it, especially darks and lights.
- Sticky cookies: If your cookies are still soft after cooling, bake them a few extra minutes next time, but keep a close eye on the edges.
Mistakes don’t ruin haunted house cookies. A wavy line or lopsided roof just makes it spookier.
Fun Ways to Use Haunted House Cookies
Once you have your haunted houses ready, there are plenty of ways to use them besides snacking straight from the jar. Some ideas I’ve tried and loved:
- Pack them in treat bags for classmates, neighbors, or Halloween guests.
- Stick them on cupcakes as large toppers for an instant spooky upgrade.
- Arrange a graveyard scene on a cake or tray with cookie houses, tree shapes, and candy pumpkins.
- Use them as name cards for place settings at a party or dinner table.
Haunted house cookies also make great family night activities. Bake and decorate together, with prizes for the creepiest, silliest, or most colorful houses.
Frequently Asked Questions
I get a lot of questions about haunted house cookies, so here are my most helpful answers for first timers:
How do I make royal icing if I’ve never tried it?
Royal icing is just powdered sugar, egg whites (or meringue powder), and a splash of lemon juice. Whip until it forms peaks and add color as you like. If you’re wary of raw eggs, meringue powder is a solid substitute.
Can I make these cookies gluten free?
Absolutely. Use your favorite gluten free sugar cookie mix or recipe. As long as it holds its shape, you’re set. Check your candy toppings for gluten, too.
How far ahead can I make haunted house cookies?
Undecorated cookies stay fresh for up to a week in an airtight container. Once decorated, let the icing dry fully before stacking or wrapping. For the best crunch, eat within five days of decorating.
Are there alternatives to royal icing?
If you don’t want to deal with royal icing, try a simple glaze of powdered sugar and milk, or even storebought decorating gels. They don’t set as hard but work in a pinch.
Extra Decorating Ideas for That Haunted Look
Each batch of haunted house cookies can look totally different. Here are some extra ideas if you want to get creative:
- Use yellow or orange icing behind candy eyes to make glowing windows.
- Draw on spiderwebs with a very fine tip and white icing (or mix a little black into your white for a silvery spooky effect).
- Pile crushed chocolate cookies at the base as “dirt.” Try adding a wafer cookie as a fence or gate.
- Add little green piped bushes for a really overgrown, abandoned house effect.
If you want to throw a haunted house cookie decorating party, set out all the toppings in small bowls and offer a variety of icing colors. Try organizing a fun contest, or let everyone come up with wild stories behind their cookie designs. Sharing these treats at autumn gatherings adds a playful touch to any event, and seeing everyone’s unique approach is half the fun.
With a little prep and a willingness to embrace the spooky, haunted house cookies are a fun way to mix baking and crafts. Let your creativity run wild, invite family and friends to join in, and enjoy cookies that are just the right amount of creepy and tasty.