
Halloween makeup is the real secret sauce if you want to turn a regular costume into something eye-catching. From iconic monsters to out-there fantasy looks, nailing your makeup is what brings a character to life. There are so many products and tricks out there, it can get overwhelming when you’re starting out. Here, I’ll walk you through all the basics, my favorite beginnerfriendly tips, and a no-stress step-by-step tutorial for a classic spooky look.
Why Halloween Makeup Makes All the Difference
Halloween makeup has always been one of my favorite parts of getting into the holiday. Anyone can grab a mask or pull together a costume, but when you show up with a wellblended zombie face or those signature witchy eyes, everyone stops and stares. The effect you get with a little creativity and the right products is worth the time, plus, it’s just plain fun to experiment!
This whole trend really took off because regular store costumes sometimes fall a bit flat. With just a few affordable makeup items and a steady hand, you can create prolevel looks at home. Whether you’re after something simple or going all out with gore, learning a few basic techniques will set you up for success and let you step up your Halloween style game this year.
Halloween Makeup Basics: What You’ll Need
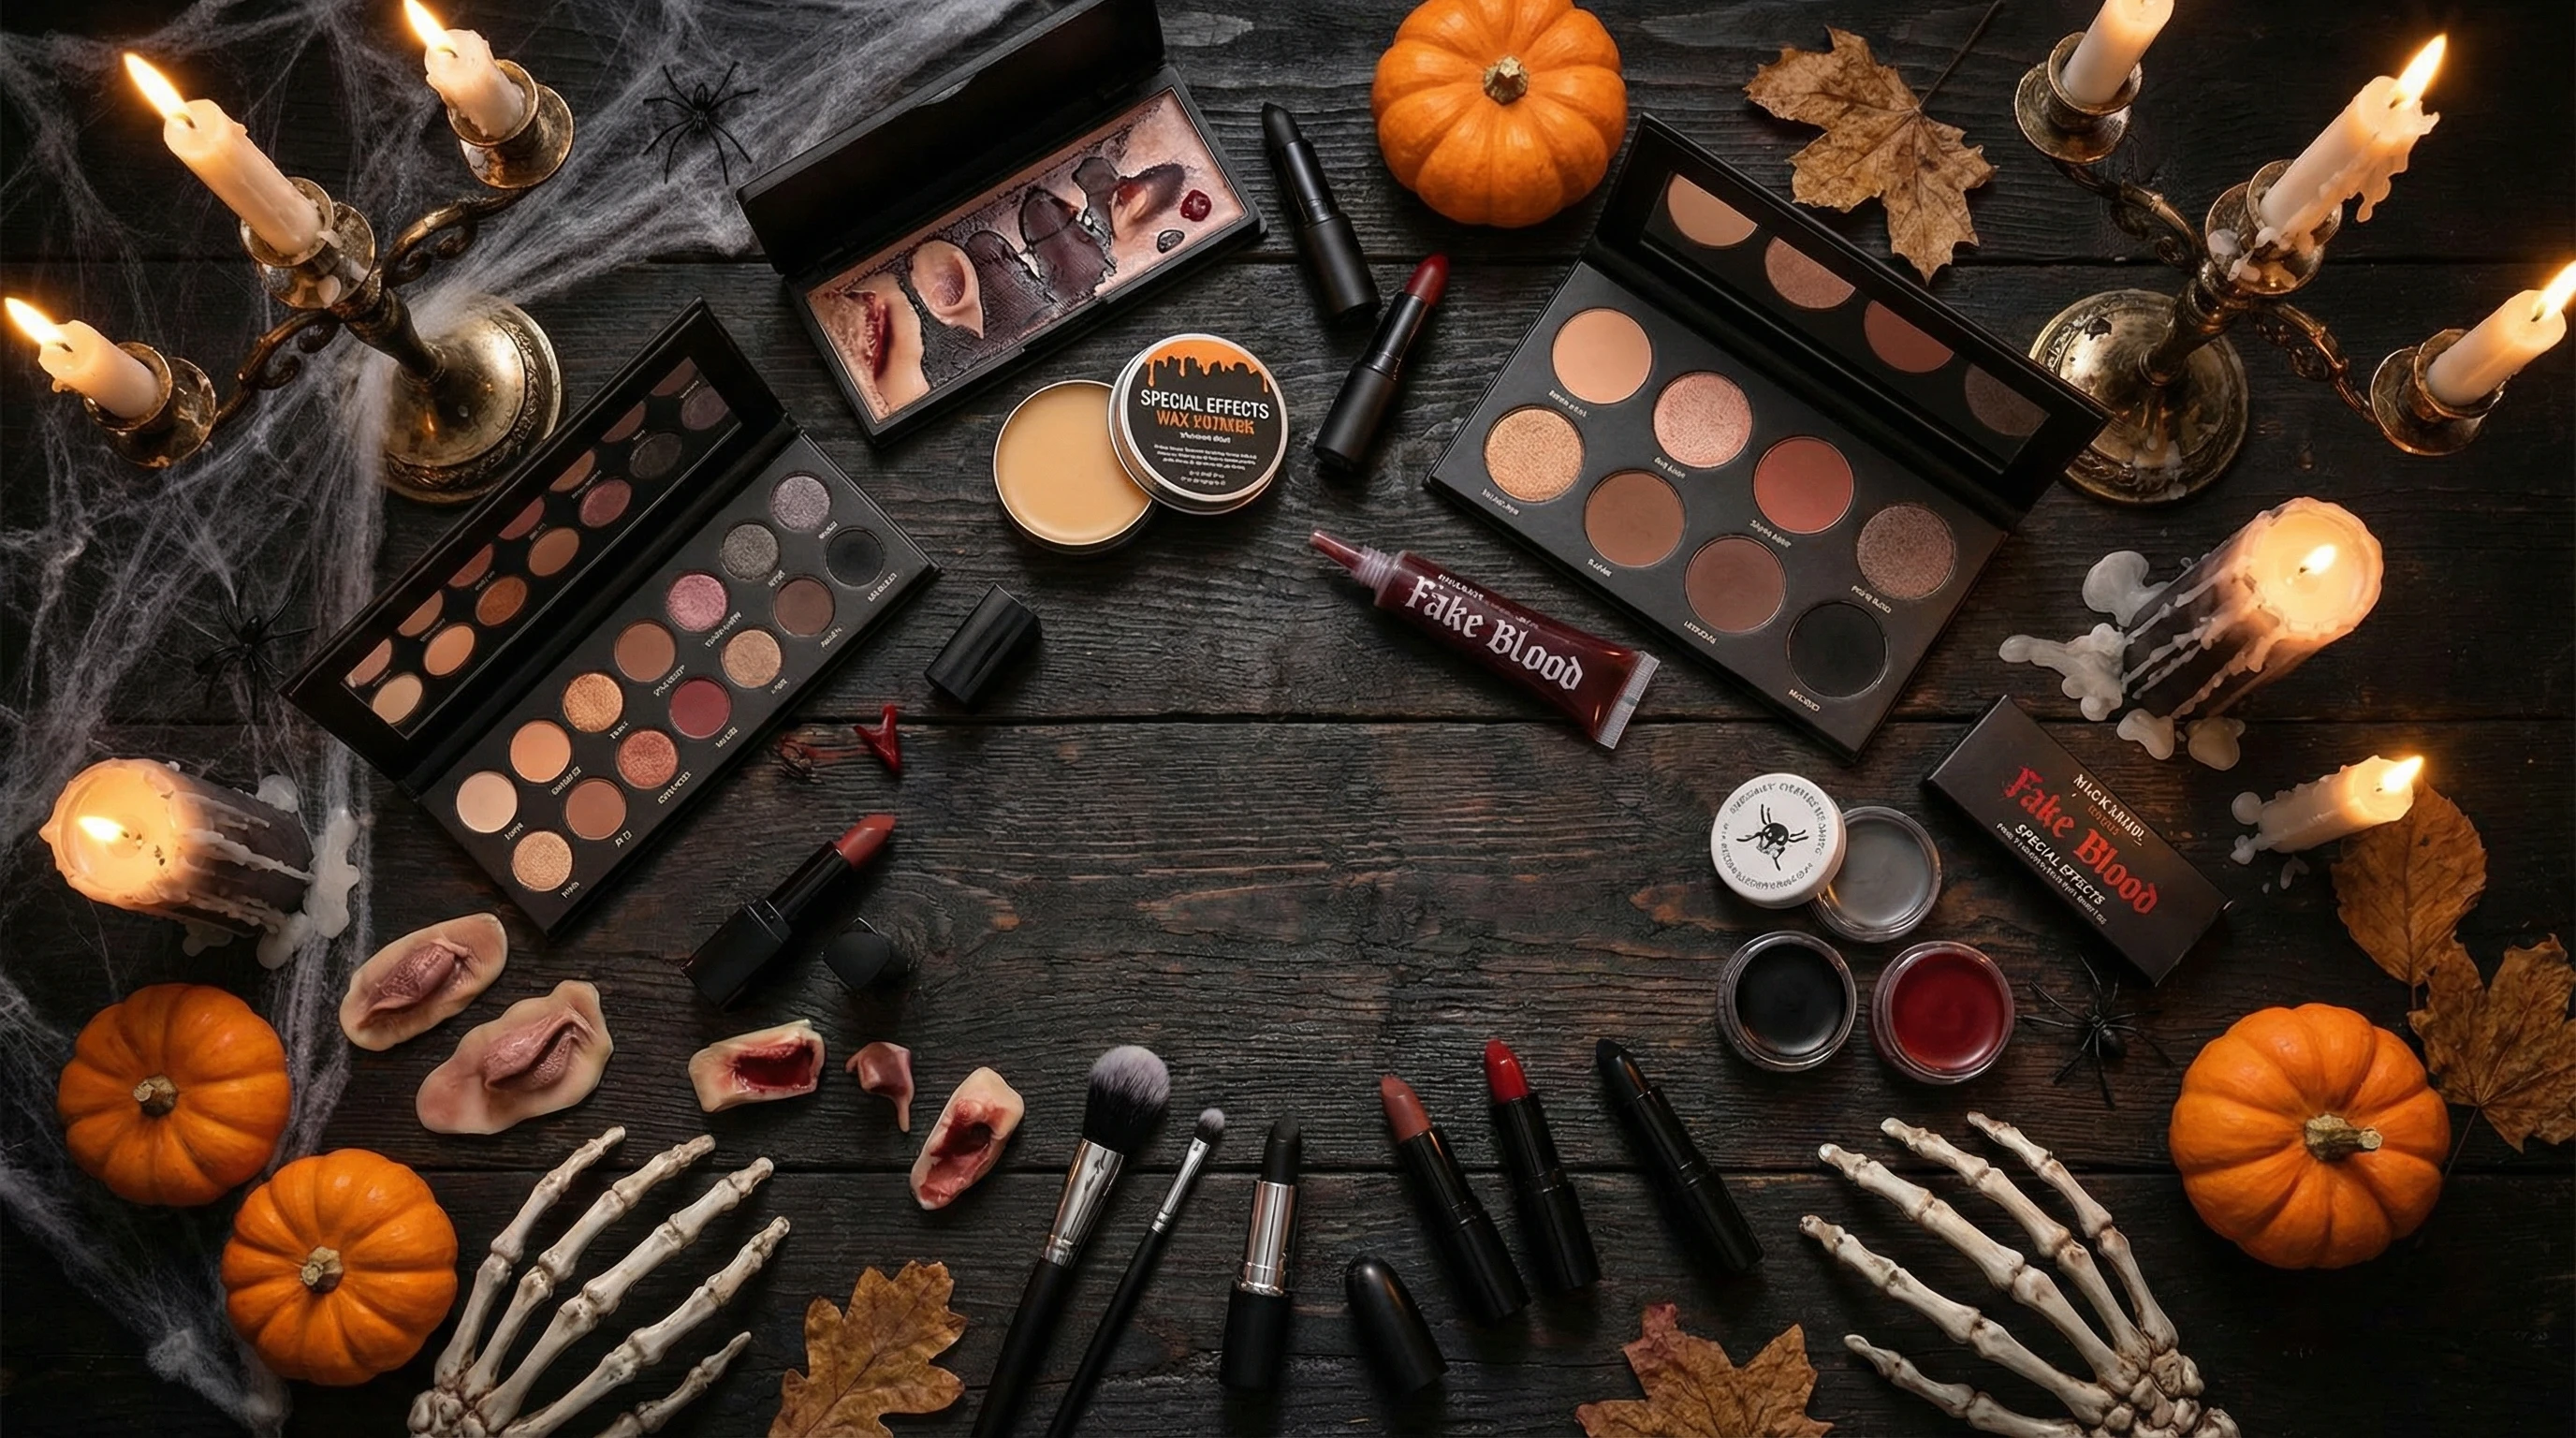
Getting started means knowing what goes in your kit. I’ve learned the hard way that picking the right supplies helps everything run more smoothly. You’ll want to cover these basics:
- Face Paint (Cream or Water-Based): These are the workhorse of any Halloween kit. Creams are richer and last longer, while waterbased paints dry faster and wash out easily.
- Black and White Eyeliner: Use for fine details, outlining, or drawing deepset eyes and cracks.
- Eyeshadow Palette: Grab one with bright colors and neutrals. These can add bruised or shaded effects and work well for blending.
- Makeup Brushes & Sponges: Small flat brushes are useful for lines; fluffy ones are awesome for shading.
- Fake Blood (Optional): Nothing says classic Halloween like a little fake blood for those vampire, zombie, or injury effects.
- Lashes and Glitters: For glam or creepy fairy looks, these are super useful extras.
You don’t need to break the bank; many kits at the drugstore or even online starter palettes have pretty good pigment. If you have sensitive skin, always check the label and maybe do a patch test first. Take a moment to check ingredient lists if allergies are a concern so your skin doesn’t react to any surprise chemicals.
A Quick Guide to Creating a Spooky Halloween Look
For a beginnerfriendly classic, let’s build a look that works for zombies, skeletons, or ghosts. This will give you a solid base, and you can tweak it to go scarier or cuter depending on your mood.
- Start with Clean, Moisturized Skin: Makeup stays put and looks better when you start with a fresh face. I always start by washing up and putting on a light, nongreasy moisturizer.
- Create a Pale Base: Using a makeup sponge and waterbased white face paint (or a super light foundation), dab over your face and neck. Blend evenly, adding more layers for extra opacity.
- Shape with Contour: Take a gray or cool brown shade from your eyeshadow palette. Using a fluffy brush, sweep under your cheekbones, along the nose, and in the hollows of your eyes to “sink” the features.
- Draw in Details: Use black eyeliner to add cracks, stitch lines around the mouth, dark circles, or hollowed cheeks, whatever fits your character. Smudge the lines with a cotton swab or your finger so it doesn’t look too cartoonish.
- Add Dramatic Eyes: Pack on a mix of black and dark red or purple shadow around the eyes, fading outwards for that classic haunted look. A touch of shimmer in the center can make eyes pop or look otherworldly.
- Finish with Extras: Fake blood at the corners of your mouth or along “wounds” gives the look real drama. If you’re feeling fancy, swipe on some glitter or apply false lashes for a sinisterglam finish.
Don’t forget, smudges and “imperfections” make Halloween makeup better. Messy looks more authentic for a lot of scary costumes, so don’t worry if things aren’t super crisp and clean.
Helpful Tips and Tricks for Beginners
- Layer Products, Don’t Cake Them On: Apply cream products in thin layers. You’ll get a more comfortable wear and avoid cracking.
- Set with Translucent Powder: If you want your makeup to last through a party or trick-or-treating, gently press on a loose setting powder to lock everything down.
- Keep Makeup Wipes or Micellar Water on Standby: Useful for fixing mistakes or starting over if needed.
- Test Unfamiliar Products Before Halloween: A day or two before the big night, do a quick test run. This helps prevent skin irritation and surprises.
- Add Shading for Depth: Even simple looks feel more advanced with some shading under eyes, across knuckles, or along the jawline.
I’ve found that planning your makeup before you get dressed can keep clothes clean and make application easier, especially if you’re using messy products. Also, set up your workstation with all your supplies within arm’s reach to smooth the way and keep messes to a minimum. If possible, use natural light or a bright lamp so you can spot uneven areas easily.
Common Mistakes and How to Fix Them
- Cakey Base: If your paint goes on patchy, spritz a little water onto your sponge or face and blend softly.
- Uneven Lines: Wobbly? Use a thin brush, rest your hand on your face for stability, and draw slowly. It’s fine to “erase” with a damp cotton swab.
- Product Meltdown: Halloween is often sweaty or rainy! Powder regularly, and avoid touching your face once you’re done.
- Color Too Dim: Build up color slowly, using a mix of cream and powder products to intensify where you need a pop.
Working with Sensitive Skin
If you’ve reacted to makeup before, look for products labeled as hypoallergenic or suitable for kids. Peeloff face paints are also worth checking out because they’re less likely to irritate and easier to remove at the end of the night. I avoid glues or prosthetics if my skin is cranky and stick with classic paints and powders. Always ask the store clerk or check online reviews if you’re worried about possible skin reactions.
Getting Creative: Ideas for Halloween Makeup Looks
Once you’re comfortable with the basics, there’s a whole world of ideas to try. Here are some easy ones for beginners and a couple more challenging styles if you really want to set your skills free and go nextlevel cool:
- Classic Skeleton: Black and white paint, drawn teeth and hollow eyes. Surprisingly simple and effective.
- Witch or Vampire: Focus on green or purple skin tints, bold lips, and wild eyebrows or veins with a fine brush.
- Pumpkin Face: Orange base with jagged black lines. A super quick win, just add a touch of brown shadow around the lines to carve out the “skin.”
- Fairy or Unicorn: Use pastel blues and pinks, plenty of glitter, and some stick on gems. Perfect for anyone wanting something magical yet lowstress.
- SFX Wound or Gore: Use tissue paper and liquid latex to build texture, then cover with cream paint and fake blood. If you haven’t used latex before, check instructions for allergens.
- Pop Art Comic Book Character: Outline your features with black eyeliner, add lots of dots using a pencil or end of a brush, and exaggerate your eyes and lips with bold colors. This will definitely catch attention at any party.
- Glittering Mermaid: Cover your cheekbones and temples with shimmery eyeshadow and add face gems or rhinestones for a look that’s both magical and aquatic. Pair with green or blue lips for extra flair.
If you want even more inspiration, check out online tutorials or scroll through social media tags like #HalloweenMakeup for the latest trends and new ideas to experiment with. There’s always something fresh to try, whether you want to go quirky or downright scary.
Frequently Asked Questions About Halloween Makeup
Question: How do I keep my Halloween makeup on all night?
Answer: Light layers and lots of powder help keep your makeup from fading. Setting sprays can also be pretty handy to lock everything in place. If you’re going to be outside, keep a small powder compact in your bag so you can touch up now and then. For oily skin, blotting sheets are a simple way to absorb excess shine without disturbing the makeup.
Question: What do I use to take off heavy Halloween makeup?
Answer: Oil-based removers or micellar water break down creams and face paints easily. Wipe gently with a cotton pad, then wash your face with your regular cleanser. If you’ve used glue or latex, be extra gentle, and soak it with remover before trying to peel it off. Always moisturize well after removing heavy makeup to keep your skin happy.
Question: Can I use regular eyeshadow and lipstick instead of face paint?
Answer: Absolutely! A lot of the time, regular makeup works just fine for shading or details. Just check that it’s safe for use on the areas you’re applying it to. For instance, avoid using lip products near the eyes or extra glitters on sensitive skin.
Final Thoughts on Halloween Makeup
Halloween makeup is one of the easiest ways to add creativity, scarefactor, or pure fun to your costume. With the right products and a bit of practice, you can transform into almost any character you dream up. Not every look goes perfectly, and that’s honestly half the fun. Playing around with new ideas each year is something I always look forward to. Have fun experimenting, and don’t be afraid to improvise, you’ll be surprised at what you can pull off with just a little effort. Bottom line, your imagination and a touch of makeup can turn you into anything you want for one unforgettable night.