✨ Fairy Makeup Step-by-Step Tutorial ✨A Magical, Family-Friendly Beauty Guide
Fairy makeup is all about imagination, softness, and a touch of magic. Whether you’re creating a look for a costume party, a photoshoot, a school event, a festival, or just for fun, fairy makeup allows you to express creativity in a gentle, playful way. This tutorial will guide you through a beautiful fairy makeup look step by step, using simple techniques that can be adjusted for any age or skill level.
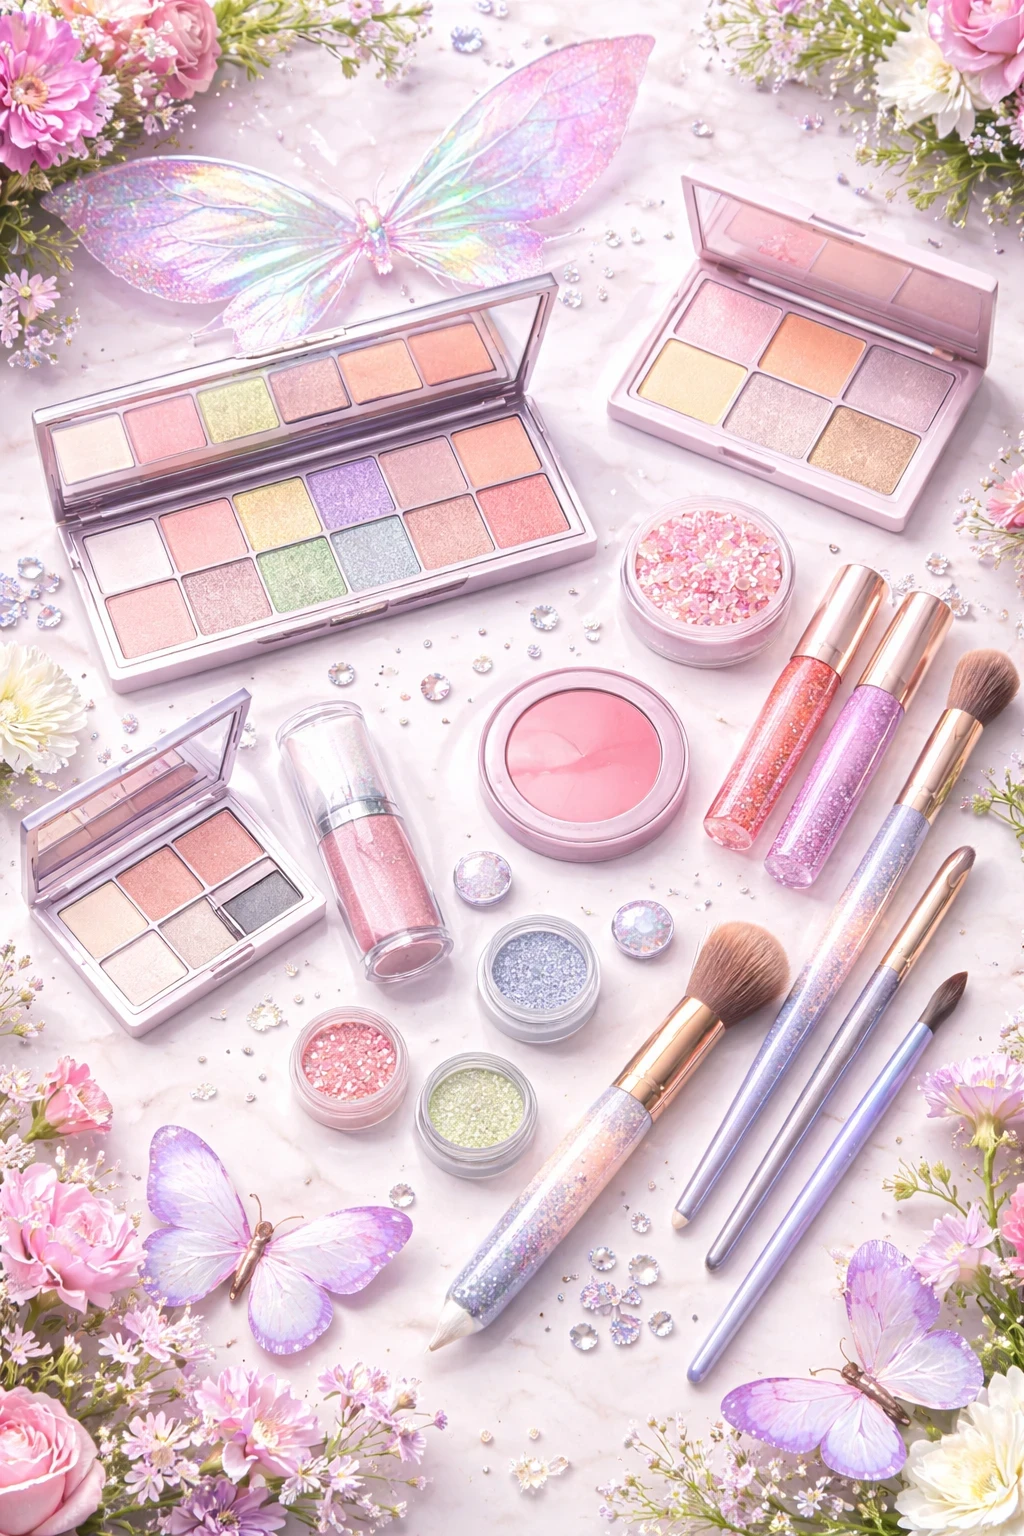
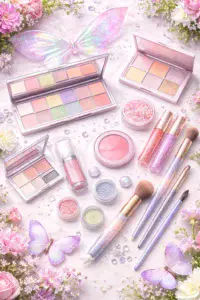
This look focuses on glowing skin, soft colors, shimmer, and whimsical details—nothing heavy or intimidating. Let’s begin our magical transformation.
🧴 Step 1: Prep Your Skin
Every great makeup look starts with healthy, hydrated skin.
Begin by washing your face with a gentle cleanser to remove dirt or oils. Pat your skin dry with a clean towel. Apply a lightweight moisturizer suited to your skin type. This helps makeup blend smoothly and last longer.
If you’ll be wearing makeup for several hours, you can apply a light primer to the face, focusing on areas where makeup tends to fade, like the nose and cheeks. A glowing or hydrating primer works beautifully for fairy makeup.
✨ Tip: Fairy looks shine best on fresh, glowing skin—avoid heavy matte primers.
🌸 Step 2: Create a Soft, Even Base
Fairy makeup should look light and natural.
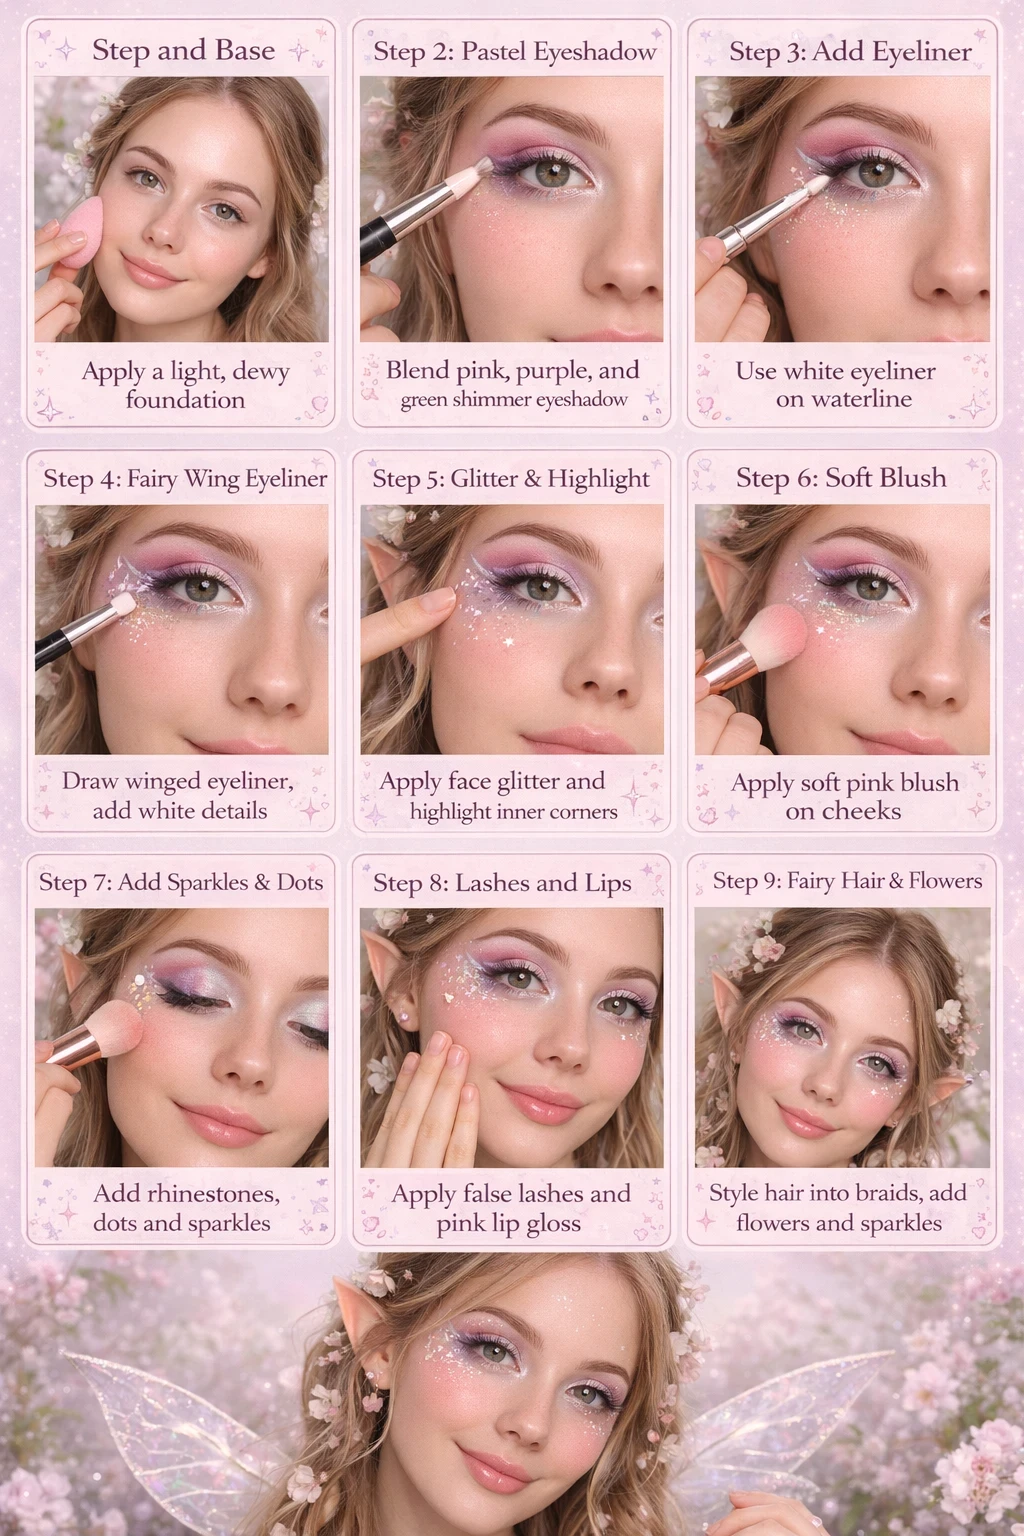
Apply a light foundation, BB cream, or tinted moisturizer using a sponge or brush. Blend well, especially around the jawline and hairline. The goal is an even skin tone—not full coverage.
Use a small amount of concealer under the eyes or on any blemishes. Gently blend with your finger or sponge.
Set lightly with translucent powder only where needed, such as under the eyes or around the nose. Keep the cheeks and high points of the face slightly dewy.
🌷 Step 3: Add a Fairy Glow
Glow is essential for fairy makeup.
Apply a soft liquid or powder highlighter to the high points of the face:
- Tops of the cheekbones
- Bridge of the nose
- Cupid’s bow
- Inner corners of the eyes
Choose a pearl, champagne, or soft pink glow. Avoid harsh glitter—think magical shimmer instead.
✨ Tip: You can mix a tiny bit of liquid highlighter into your moisturizer for an all-over fairy glow.
🌸 Step 4: Blush for a Magical Flush
Fairies often look rosy and fresh, like they’ve just stepped out of a flower garden.
Apply blush to the apples of the cheeks and blend upward toward the temples. Soft pink, peach, or rosy tones work best. You can also lightly sweep blush across the bridge of the nose for a whimsical, youthful effect.
Cream blush gives the most natural fairy look, but powder works just fine.
🧚♀️ Step 5: Fairy Eyeshadow Magic
Now comes the most creative part—fairy eyes.
Start with a light pastel or nude shade as a base across the eyelid. Popular fairy colors include:
- Soft pink
- Lavender
- Mint green
- Champagne
- Pale gold
Blend a slightly deeper shade into the crease for gentle definition. Keep everything soft and blended—no harsh lines.
Add shimmer or glitter eyeshadow to the center of the lid or inner corners to create a magical sparkle. Press it on gently with your finger for the best payoff.
✨ Optional: Use a pastel shimmer under the lower lash line for extra fairy charm.
🌙 Step 6: Soft Liner & Lashes
Fairy makeup doesn’t need heavy eyeliner.
Use a brown or soft black eyeliner to lightly define the upper lash line. You can keep it thin or even skip liner entirely if you prefer a softer look.
Apply mascara to the upper lashes, focusing on length rather than volume. Fairy lashes should look fluttery, not dramatic.
Optional: Add small, natural false lashes or individual lashes for extra enchantment.
🌟 Step 7: Brows—Natural & Soft
Brush your eyebrows upward with a spoolie. Fill in sparse areas lightly using a brow pencil or powder close to your natural brow color.
Keep brows soft and natural—avoid sharp lines or heavy shaping. You can set them with clear or lightly tinted brow gel.
✨ Tip: Fairy makeup looks best with gentle, feathery brows.
💎 Step 8: Fairy Details & Face Art
This step transforms your makeup from pretty to magical.
Using cosmetic-safe gems, pearls, or glitter:
- Place tiny gems near the outer corners of the eyes
- Add dots along the cheekbones or temples
- Create a small crown or vine pattern
You can also use white or pastel eyeliner to draw:
- Tiny stars
- Dots
- Swirls
- Flower shapes
Apply details slowly and lightly. Less is more.
💋 Step 9: Fairy Lips
Choose a lip color that complements the rest of the look.
Great fairy lip options include:
- Glossy pink
- Nude shimmer
- Soft coral
- Clear gloss with sparkle
Apply lip balm first for hydration, then add lipstick or gloss. You can dab a touch of shimmer gloss in the center of the lips for a fairy-kissed effect.
✨ Step 10: Set the Look
Finish with a light mist of setting spray to lock everything in place and blend the makeup together. A dewy or glow setting spray works best.
Take a step back, admire your reflection, and make any final touch-ups.
🧚 Fairy Makeup Customization Ideas
You can easily adapt this look:
- Woodland fairy: Earthy greens, browns, leaf designs
- Flower fairy: Pink, rose, floral face art
- Moon fairy: Silver, lavender, star details
- Ice fairy: Pale blue, white shimmer, crystal gems
Let your imagination guide you.
🌈 Final Thoughts
Fairy makeup is about joy, creativity, and self-expression. There’s no right or wrong—just what feels magical to you. This look is perfect for beginners and experienced makeup lovers alike and can be adjusted to be as simple or detailed as you like.
Most importantly, fairy makeup should feel fun, gentle, and confidence-boosting. Whether you’re creating this look for yourself or sharing the experience with family, enjoy every sparkling moment.
✨ At Paranormal Chic, we believe beauty is magical, creativity has no age limit, and imagination makes everything shine. ✨
If you have any questions or comments about this topic, please leave them down below and I would be happy to help you out.