
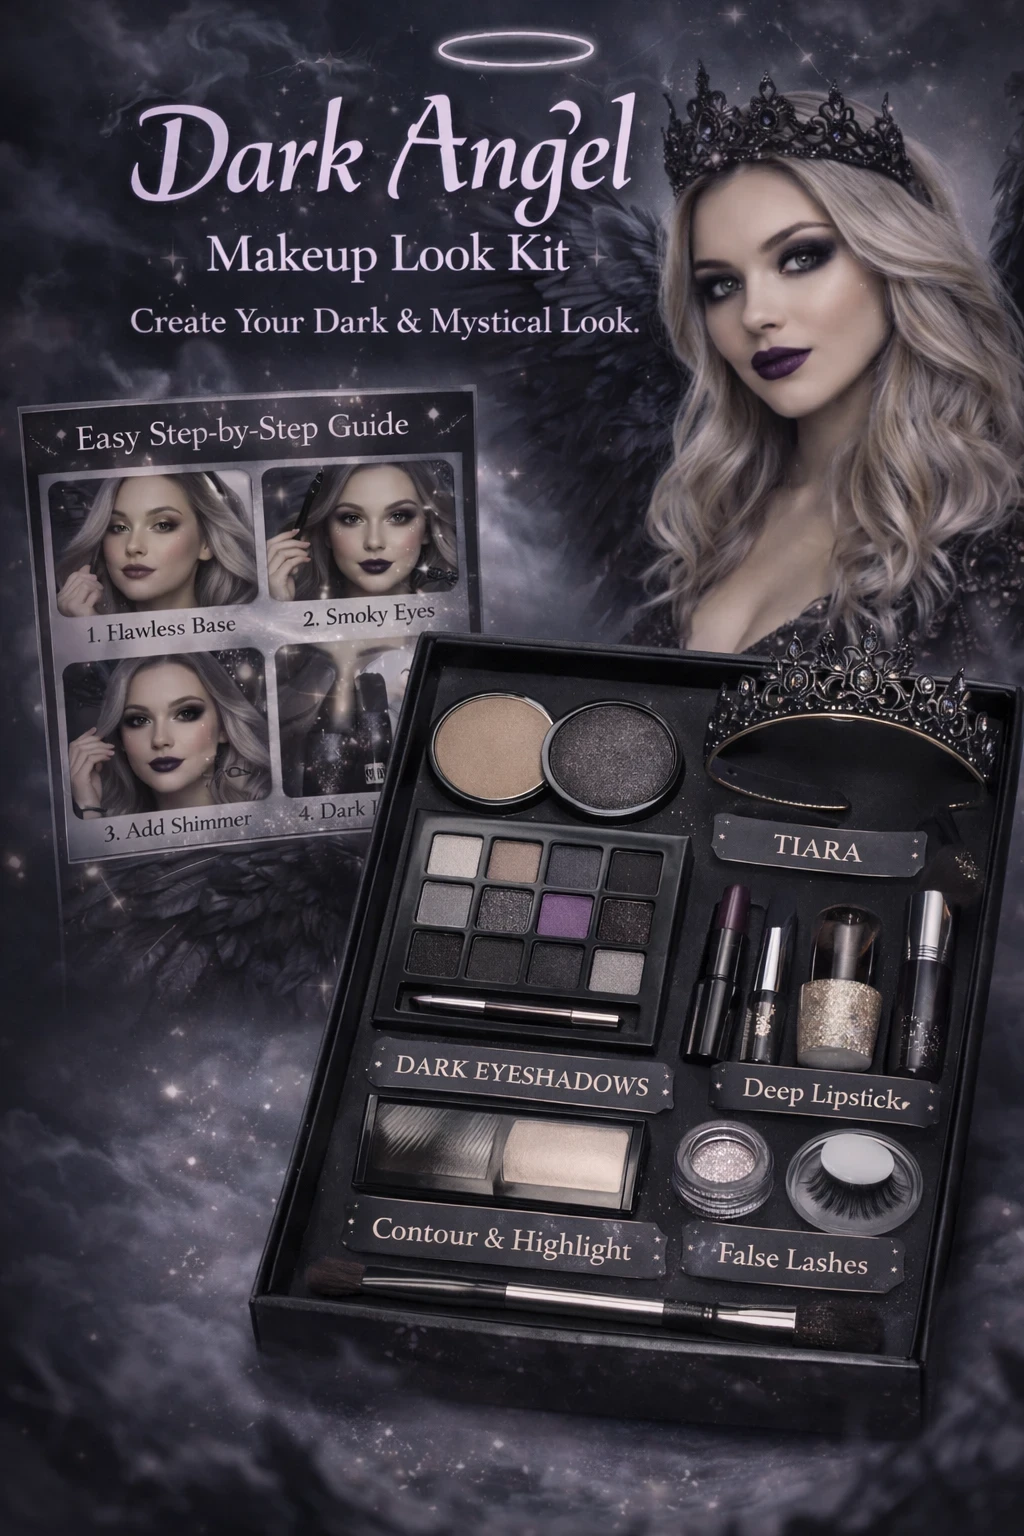
Dark Angel Makeup Look: Step-by-Step Tutorial


A Dark Angel makeup look blends elegance, mystery, and a touch of the supernatural. Unlike traditional angel looks, the Dark Angel uses deeper tones, dramatic eyes, and subtle or bold metallic accents to create an alluring and powerful aesthetic. This style is perfect for themed photoshoots, Halloween, cosplay, or fantasy makeup enthusiasts.
This tutorial guides you from prep to completion, focusing on techniques that highlight the ethereal yet dark essence of this look.
What You’ll Need
Gathering products before you start is essential for a smooth process. You’ll need both standard makeup and some optional specialty items for a dramatic effect.
Face Products
- Cleanser and moisturizer
- Primer (matte or illuminating depending on preference)
- Full coverage foundation (for a flawless base)
- Concealer
- Translucent setting powder
- Contour palette (cool-toned browns or greys)
- Highlighter (pearl, silver, or subtle shimmer)
Eye Products
- Dark eyeshadow palette (black, charcoal, deep purples, metallic greys)
- Soft transition shades (taupe, warm brown)
- Eyeliner (gel, liquid, or pencil in black and optional metallic silver)
- Mascara (black or volumizing)
- False lashes (dramatic or winged style)
Lips
- Black, deep purple, or dark red lipstick
- Lip liner (matching lipstick)
- Optional metallic or gloss finish
Extras
- Face glitter or shimmer (cosmetic-grade)
- Fine detail brush for creative accents (like feathers or winged details)
- Optional dark angel props: black feathered wings, headpiece, or tiara
Step 1: Prepare the Skin
The Dark Angel makeup look starts with a flawless base.
- Wash your face with a gentle cleanser to remove any oils or residue.
- Apply a lightweight moisturizer suitable for your skin type. Hydration ensures foundation applies smoothly.
- Optional: Apply a primer. Matte primer works best for oily skin, while a luminous primer enhances highlights for a more supernatural glow.
Smooth skin is crucial because darker shades of eyeshadow and lipstick can exaggerate imperfections.
Step 2: Create a Flawless Base
A full-coverage foundation gives the Dark Angel a polished look.
- Apply foundation evenly using a damp makeup sponge or brush.
- Blend into the hairline, jawline, and neck to avoid any color mismatches.
- Use concealer under the eyes and on blemishes.
Tip: For a more supernatural look, slightly lighten the under-eye area to create contrast with darker eyeshadow.
Step 3: Contour for Dramatic Shadows
Contour gives structure and a slightly “edgy” appearance.
- Use a cool-toned contour shade on:
-
- Hollow of the cheeks
- Sides of the nose
- Temples and jawline
- Blend thoroughly to avoid harsh lines.
- Optional: Add a soft contour to the forehead and chin for a more angular, mysterious look.
The idea is to create shadowed, ethereal features, which contrast beautifully with metallic highlights.
Step 4: Set the Base
- Lightly dust translucent or setting powder over the areas prone to oil or smudging.
- Avoid over-powdering; leave cheekbones slightly dewy to catch light, giving an ethereal effect.
Tip: A setting spray can lock in makeup while maintaining a luminous finish.
Step 5: Prime and Map the Eyes
The eyes are the centerpiece of the Dark Angel look.
- Apply an eyeshadow primer or concealer to the lids to make the eyeshadow colors pop.
- Lightly dust a neutral transition shade (taupe or soft brown) into the crease. This helps blend darker shades smoothly.
Step 6: Create the Smoky Effect
- Apply deep black or charcoal eyeshadow across the eyelid, starting from the lash line.
- Blend upward into the crease, softening edges with a fluffy brush.
- Optional: Apply deep purple or metallic grey on the outer corner to add dimension.
Tip: Blending is key. Harsh edges make the look less ethereal and more “harsh villain,” whereas smoky, soft transitions give a mystical effect.
Step 7: Highlight and Define the Eyes
- Use a metallic silver, pearl, or white eyeshadow to highlight the inner corner of the eyes.
- Apply a small amount under the brow bone for a lifted effect.
- Draw eyeliner along the upper lash line. Wing it outward dramatically for a more angelic yet dark effect.
- Optional: Smudge black or dark eyeshadow along the lower lash line to deepen the look.
Tip: For fantasy looks, metallic liners or glitter on the lower lash line create supernatural shimmer.
Step 8: Lashes and Eyebrows
- Curl the lashes and apply mascara generously to upper and lower lashes.
- Apply false lashes if desired. Dramatic or spiked lashes suit this look best.
- Eyebrows should be darkened slightly with a brow pencil or powder to frame the eyes. Keep them sharp but natural.
Step 9: Add Shimmer and Accents
- Apply fine cosmetic glitter or shimmer to the high points of the eyes, cheekbones, or temples.
- Optional: Draw subtle patterns, feathered accents, or winged designs using a small detail brush and black eyeliner.
These touches give the Dark Angel look a fantasy or otherworldly element.
Step 10: Blush and Highlight
Blush is minimal but important.
- Choose a soft muted pink or grey-toned blush. Apply lightly to the apples of the cheeks.
- Add highlighter along cheekbones, nose bridge, and cupid’s bow.
- Use silver or pearl tones for an ethereal glow.
Tip: Highlight on the forehead and chin adds dimension for photography.
Step 11: Contour the Lips
- Line lips with a lip liner matching your dark lipstick.
- Apply deep lipstick (black, dark purple, or wine red).
- Optional: Add a metallic gloss or shimmer in the center to make lips appear fuller and mystical.
Tip: For a “shadowed” effect, slightly smudge the lip edges for a soft gradient.
Step 12: Optional Dark Angel Accessories
- Add black feathered wings, a headpiece, or a tiara for a complete transformation.
- Hair can be styled in loose waves, sleek strands, or soft curls depending on desired mood.
- Optional: Apply temporary tattoos, gems, or glitter patterns on the face and neck for an artistic finish.
Step 13: Finishing Touches
- Review makeup under natural and artificial light to ensure symmetry and blending.
- Apply a final setting spray to lock the makeup in place.
- Add any last-minute shimmer, liner, or accent details for maximum effect.
Tip: Dark Angels are defined by balance between dark and luminous elements—too much black can look flat, and too much shimmer can reduce the mysterious vibe.
Tips for Perfecting the Dark Angel Look
- Blending is everything: Smooth transitions between dark and metallic shades give an ethereal quality.
- Matte vs shimmer: Matte blacks give depth; shimmery or metallics give supernatural allure.
- Customize intensity: Adjust smokiness and eyeliner depending on day or night events.
- Highlight strategically: Use shimmer sparingly to accentuate, not overwhelm.
- Lips can vary: Black, dark purple, or deep red—finish with matte, metallic, or gloss based on vibe.
Safety Tips
- Use cosmetic-grade glitter and face paints only.
- Avoid putting glitter or metallic pigments directly in the eye.
- Remove makeup gently using micellar water, oil cleanser, or makeup remover.
- Moisturize after removal to keep skin healthy.
Final Thoughts
The Dark Angel makeup look combines mystery, elegance, and supernatural beauty. By following this step-by-step guide, you can achieve dramatic eyes, a flawless base, and mystical accents that make the look striking and memorable.
With practice, you can customize the look for your style—more gothic, more ethereal, or more dramatic. Accessories like wings, tiaras, or subtle face glitter elevate the transformation into a complete character.
This tutorial works for makeup enthusiasts of all levels, from beginners trying a first dark fantasy look to advanced artists creating intricate fantasy portraits. Focus on contrast, blending, and ethereal accents, and your Dark Angel will be hauntingly beautiful and unforgettable.
If you have any questions or comments about this topic, please leave them down below and I would be happy to help you out.