
Angel Makeup Look: Step-by-Step Tutorial
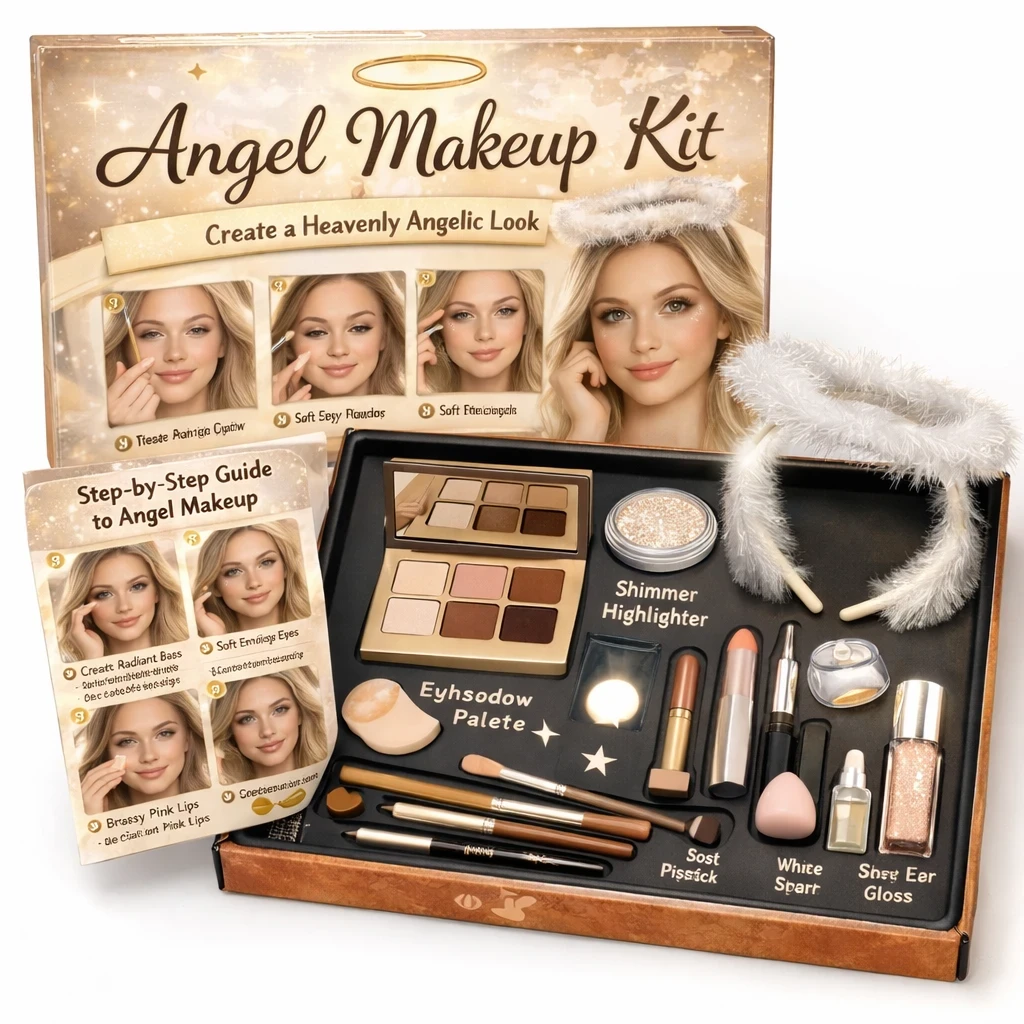
Angel makeup looks are soft, radiant, and ethereal. They’re designed to highlight natural beauty while adding a heavenly glow that feels light, pure, and dreamy. Whether you’re creating this look for a costume event, photoshoot, stage performance, Halloween, Christmas, cosplay, or a themed tutorial, angel makeup focuses on luminous skin, gentle colors, and delicate details.
This guide will walk you through the entire process—from bare skin to a finished angelic transformation—using easy techniques that anyone can follow.
What You’ll Need
Before starting, gather all your products and tools. Having everything ready helps the process feel calm and enjoyable.
Face Products
- Gentle facial cleanser
- Lightweight moisturizer
- Face primer (hydrating or illuminating)
- Liquid or cream foundation (light to medium coverage)
- Concealer
- Translucent or luminous setting powder
- Liquid or cream highlighter
Eye Products
- Neutral eyeshadow palette (white, champagne, beige, soft pink, gold)
- White or pearl eyeshadow
- Soft brown eyeshadow
- White or nude eyeliner
- Black or brown mascara
- Optional false lashes (wispy style)
Cheek & Lip Products
- Soft pink or peach blush
- Nude pink, peach, or glossy lip color
- Clear or shimmer lip gloss
Extras for Angel Details
- Loose shimmer pigment or glitter (cosmetic grade)
- Small detail brush
- White face paint or eyeliner (optional)
- Angel halo headband or accessories (optional)
Step 1: Prepare the Skin
Angel makeup begins with flawless, glowing skin.
- Cleanse your face thoroughly to remove any oil, dirt, or makeup residue.
- Apply a lightweight moisturizer and allow it to absorb fully.
- If your skin is dry, gently tap extra moisturizer on high points like cheekbones and forehead.
Hydrated skin reflects light better, which is key to an angelic look.
Step 2: Apply Primer for Glow
Choose a hydrating or illuminating primer.
- Apply primer to the center of the face—forehead, nose, cheeks, and chin.
- Blend outward using your fingers or a sponge.
This creates a smooth base and adds a soft glow beneath your makeup.
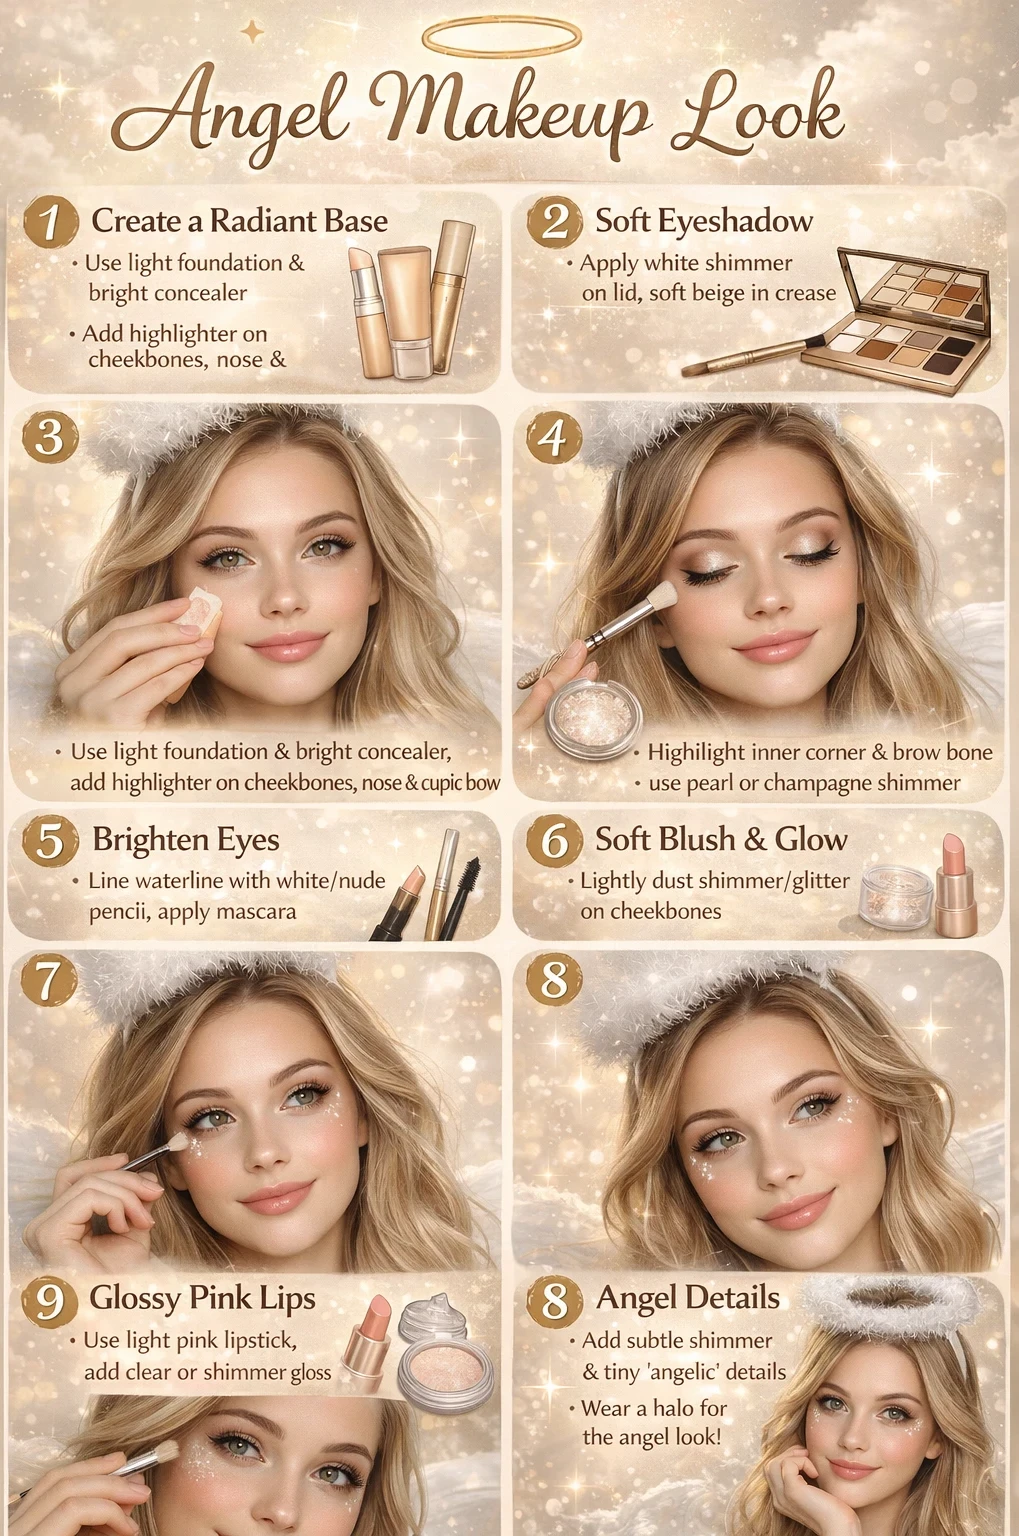
Step 3: Create a Natural, Radiant Base
Angel makeup is never heavy.
- Apply a light to medium coverage foundation using a damp makeup sponge.
- Focus on evening out skin tone rather than covering everything completely.
- Blend carefully into the hairline and jawline.
Your skin should still look like skin—fresh, soft, and luminous.
Step 4: Conceal Gently
- Apply concealer under the eyes, around the nose, and on any blemishes.
- Use a tapping motion to blend—never drag the product.
Keep the coverage light. Angels look fresh and awake, not overly sculpted.
Step 5: Set Strategically
Instead of heavy powdering:
- Lightly dust translucent powder only where needed—under the eyes and around the nose.
- Leave the cheekbones and high points slightly dewy.
This balance keeps the glow alive.
Step 6: Add Soft Angelic Highlight
Highlight is essential for an angel look.
- Apply liquid or cream highlighter to:
-
- Tops of cheekbones
- Bridge of the nose
- Cupid’s bow
- Inner corners of the eyes
- Blend seamlessly so the glow looks like it’s coming from within.
Choose pearl, champagne, or soft gold shades.
Step 7: Shape the Brows Lightly
Angel brows are soft and natural.
- Brush brows upward with a spoolie.
- Lightly fill sparse areas using a brow pencil or powder close to your natural color.
- Avoid sharp edges or harsh arches.
Finish with clear brow gel for a feathery effect.
Step 8: Prime the Eyes
Apply a thin layer of eye primer or concealer over the eyelids. This ensures the eyeshadow stays bright and smooth.
Step 9: Apply Base Eyeshadow
- Sweep a white, ivory, or champagne shade over the entire lid.
- Blend it slightly above the crease for a soft halo effect.
This step creates the angelic brightness around the eyes.
Step 10: Add Soft Crease Definition
- Use a light beige or soft brown eyeshadow.
- Apply gently into the crease using a fluffy brush.
- Blend thoroughly so there are no harsh lines.
The goal is subtle depth—not drama.
Step 11: Enhance with Shimmer
- Press a pearl or soft gold shimmer onto the center of the eyelid.
- Add a tiny amount to the inner corner of the eyes.
This gives the eyes a heavenly sparkle when light hits them.
Step 12: Angelic Eyeliner
For a soft angel look:
- Use white, nude, or champagne eyeliner on the waterline.
- Skip heavy black eyeliner or keep it very thin and close to the lashes.
This makes the eyes look open, bright, and innocent.
Step 13: Mascara and Lashes
- Curl your lashes gently.
- Apply one to two coats of mascara to upper lashes.
- Optional: Add wispy false lashes for extra softness.
Avoid thick or dramatic lashes—light and fluttery works best.
Step 14: Soft Blush Application
Blush gives the angel look warmth and life.
- Choose a soft pink or peach blush.
- Apply lightly to the apples of the cheeks.
- Blend upward toward the temples.
Keep it fresh and natural.
Step 15: Optional Angel Details
For a more fantasy-inspired look:
- Use white eyeliner or face paint to draw tiny dots, stars, or lines near the eyes.
- Add cosmetic glitter under the eyes or on cheekbones.
- Keep designs minimal and delicate.
These details work beautifully for photoshoots and stage looks.
Step 16: Perfect the Lips
- Apply a nude pink, peach, or soft rose lipstick.
- Add clear or shimmer gloss on top.
The lips should look hydrated, glossy, and gentle.
Step 17: Set the Look
- Use a hydrating or dewy setting spray.
- Mist lightly over the face to lock everything in.
This step helps blend all layers together for a seamless finish.
Step 18: Add Angel Accessories
Complete the transformation with:
- Angel halo headband
- White outfit or flowing fabric
- Soft curls or loose waves
These extras elevate the makeup look into a full angel character.
Tips for Different Angel Styles
Classic Angel
- White and champagne tones
- Minimal shimmer
- Soft glow
Fantasy Angel
- Glitter accents
- Pearl details
- Extra highlight
Dark Angel
- Smokier browns
- Mauve blush
- Glossy nude lips
Safety and Removal Tips
- Always use cosmetic-grade glitter and face paint
- Avoid glitter near the waterline
- Remove makeup gently with micellar water or cleansing balm
- Moisturize well after removal
Final Thoughts
Angel makeup is about light, softness, and grace. You don’t need heavy contouring or bold colors to make an impact. Focus on glow, blending, and gentle details, and the look will feel effortlessly heavenly.
This step-by-step tutorial can be adapted for beginners, professional kits, content creation, or themed events. With practice, you’ll be able to customize the look to match any angel style you imagine.
If you have any questions about this topic, please leave them down below and I would be happy to help you out.